How to Fix a Pump Sprayer?
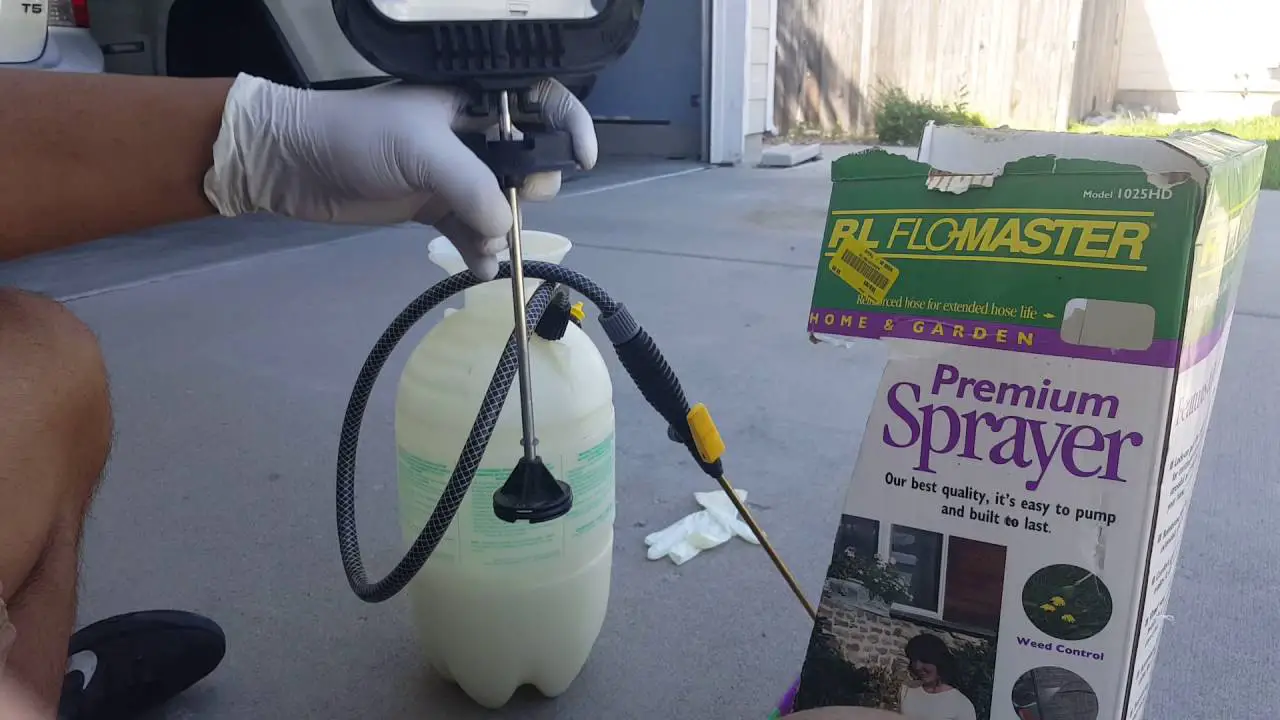
If your pump sprayer isn’t working properly, there are a few things you can do to fix it. First, check the O-ring and make sure it’s not damaged. If it is, replace it with a new one.
Next, check the pump mechanism to see if anything is blocking it from moving freely. If something is blocking it, remove the obstruction and try again. Finally, check the nozzle to see if it’s clogged or damaged.
If it is, clean or replace it as needed.
- Check the O-ring: The O-ring is a small, circular piece of rubber that helps create a seal between the pump and the nozzle
- If this is damaged or missing, it can cause leaks
- Inspect the Nozzle: Over time, wear and tear can damage the nozzle, causing it to leak
- Make sure that it is firmly attached and not cracked or chipped
- Clean the Pump Mechanism: If there is any dirt or debris build-up in the pump mechanism, this can cause leaks
- Use a brush or cloth to clean it out thoroughly
- Replace Worn Parts: If any of the parts in your pump sprayer are worn out, they will need to be replaced in order to fix the leak
- This includes things like washers, O-rings, and gaskets
Pump Sprayer Repair Kit
Pump sprayer repair kits are an essential item for any homeowner or business owner with a pump sprayer. Whether you use your pump sprayer for watering plants, cleaning windows or spraying pesticides, having a reliable repair kit on hand can save you time and money.
There are a few different types of pump sprayer repair kits available on the market, but they all typically include some basic items.
Most kits will come with new O-rings and washers, which are used to create a seal between the pump and the tank. You may also find replacement nozzles, gaskets and hoses in your kit.
To use your pump sprayer repair kit, first identify the source of the problem.
If your O-rings are worn out, simply replace them with new ones from the kit. If your nozzle is clogged or damaged, replacing it with a new one from the kit should solve the problem. If you’re having trouble creating a seal between the pump and tank, check to see if the gasket needs to be replaced.
Once you’ve identified and fixed the problem, reassemble your pump sprayer according to the instructions in your manual.
With a little bit of maintenance and care, your pump sprayer should last for years to come!
How to Repair a Garden Sprayer
If you have a garden sprayer that isn’t working properly, don’t despair! With a little time and effort, you can get it working again. Here’s what you need to do:
1. Check the supply hose for leaks. If there are any cracks or holes, replace the hose.
2. Inspect the pump assembly for damage.
If there are any cracked or broken parts, replace them.
3. Clean the nozzle with a small brush to remove any dirt or debris.
4. Prime the pump by adding some water to the reservoir and then pumping it until water comes out of the nozzle.
5. Test the sprayer by pointing it away from yourself and squeezing the trigger to see if a steady stream of water comes out.
How to Open a Stuck Pump Sprayer
If you’re having trouble with your pump sprayer, don’t despair! There are a few simple things you can do to get it working again.
First, check to make sure that the pump is properly primed.
If it isn’t, follow the manufacturer’s instructions for priming the pump.
If the pump is primed but still isn’t working, try taking the nozzle off and cleaning it out. Sometimes debris can clog up the nozzle and prevent the sprayer from working properly.
If those steps don’t work, there may be an issue with the O-ring or gasket inside the pump assembly. Inspect these parts for damage or wear and replace them if necessary.
With a little troubleshooting, you should be able to get your pump sprayer working again in no time!
Pump Sprayer Nozzle Replacement
If your pump sprayer isn’t working properly, one of the first things you should check is the nozzle. Over time, nozzles can become clogged or damaged, affecting the performance of your sprayer. Fortunately, replacing a pump sprayer nozzle is a relatively easy task that anyone can do.
To replace the nozzle on your pump sprayer, start by removing the old one. If the old nozzle is stuck, you may need to use a pair of pliers to twist it off. Once the old nozzle is removed, take a look at the gasket to see if it needs to be replaced as well.
If so, simply remove the old gasket and install a new one in its place.
Next, screw on the new nozzle until it’s snug. Be careful not to overtighten it, as this could damage the threads on both the nozzle and the sprayer itself.
Once the new nozzle is installed, test it out to make sure it’s working properly before using it for any actual spraying tasks.
If you follow these simple steps, you’ll have your pump sprayer working like new in no time!
Garden Sprayer Repair Kit
If you’re like most gardeners, you rely on your garden sprayer to help you keep your plants healthy and free of pests. But over time, even the best garden sprayers can start to break down, leaving you with a less than efficient way to care for your plants. Luckily, there are some easy ways to fix common garden sprayer problems so that you can get back to gardening with ease.
One of the most common issues with garden sprayers is that the pump stops working properly. If this happens, it’s usually because there is something blocking the pump or the pump isn’t getting enough lubrication. To fix this problem, first check for any blockages in the pump and then add some lubricant if needed.
You can also try priming the pump by running water through it before use. If these solutions don’t work, you may need to replace the pump altogether.
Another common issue is that garden sprayers leaks.
This usually happens because of a faulty seal or O-ring somewhere in the system. To fix this problem, simply replace the damaged seal or O-ring and make sure everything is tightened properly. It’s also a good idea to check for cracks or other damage in the hose since this can also cause leaks.
Finally, sometimes garden sprayers stop working because they become clogged with dirt and debris. This is especially common in nozzle tips since they tend to be more exposed to dirt and grime than other parts of the system. To clean a clogged nozzle tip, simply remove it from the rest of the sprayer and soak it in vinegar for an hour or so before rinsing it clean with water.
If you’re having trouble with your garden sprayer, don’t despair!

Credit: www.amazon.com
Why is My Pump Sprayer Not Spraying?
If your pump sprayer isn’t spraying, there are a few potential reasons. The most common reason is that the pump itself is either damaged or not properly primed. This can be easily fixed by following the manufacturer’s instructions for priming the pump.
Another potential reason why your pump sprayer may not be spraying is that the nozzle is blocked. This can often be resolved by simply cleaning the nozzle with a small wire brush. If this doesn’t work, you may need to replace the nozzle entirely.
Finally, it’s possible that there is an issue with the hose attached to your pump sprayer. If there are any kinks or leaks in the hose, this can prevent proper pressure from building up and ultimately cause your sprayer to fail to work correctly. Inspecting and replacing any damaged hoses should fix this problem.
How Do You Fix a Sprayer That Won’T Spray?
If your sprayer won’t spray, there are a few things you can check to try and fix the issue. First, make sure that the pump is primed and that there is enough pressure in the system. If not, prime the pump according to the manufacturer’s instructions.
Next, check the nozzles to see if they are blocked or clogged. Clean or replace them as needed. Finally, check the hose for any kinks or leaks.
Repair or replace it as necessary.
How Do You Fix a Pump Sprayer That Won’T Build Pressure?
If your pump sprayer isn’t building pressure, there are a few things you can do to try and fix the problem. First, check to see if the air filter is clogged. If it is, clean or replace it.
Next, check the O-rings and gaskets to see if they need to be replaced. If they’re damaged, they could be causing leaks that prevent the pump from building pressure. Finally, make sure the pump is properly lubricated.
If it’s not, this could also be causing problems.
How Do You Fix a Spray Bottle Pump?
If your spray bottle pump becomes damaged or stops working properly, there are a few ways you can try to fix it. First, check to see if the pump is simply dirty or clogged. If so, clean it with warm water and soap.
If the problem persists, you may need to replace the pump. This is relatively easy to do – simply unscrew the old pump from the bottle and screw on a new one in its place.
fix a “garden sprayer” that WON’T pump up pressure (don’t throw it away) EASY FIX
Conclusion
If you’re having trouble with your pump sprayer, don’t worry – it’s a pretty common problem. There are a few things you can do to fix it, and we’ll go over all of them in this blog post. First, check the O-ring on the wand – if it’s damaged, replace it.
Next, make sure that the seals in the pump are intact and not leaking. If they are, you’ll need to replace them. Finally, clean out the filter screen in the pump – if it’s clogged, it will prevent the sprayer from working correctly.

